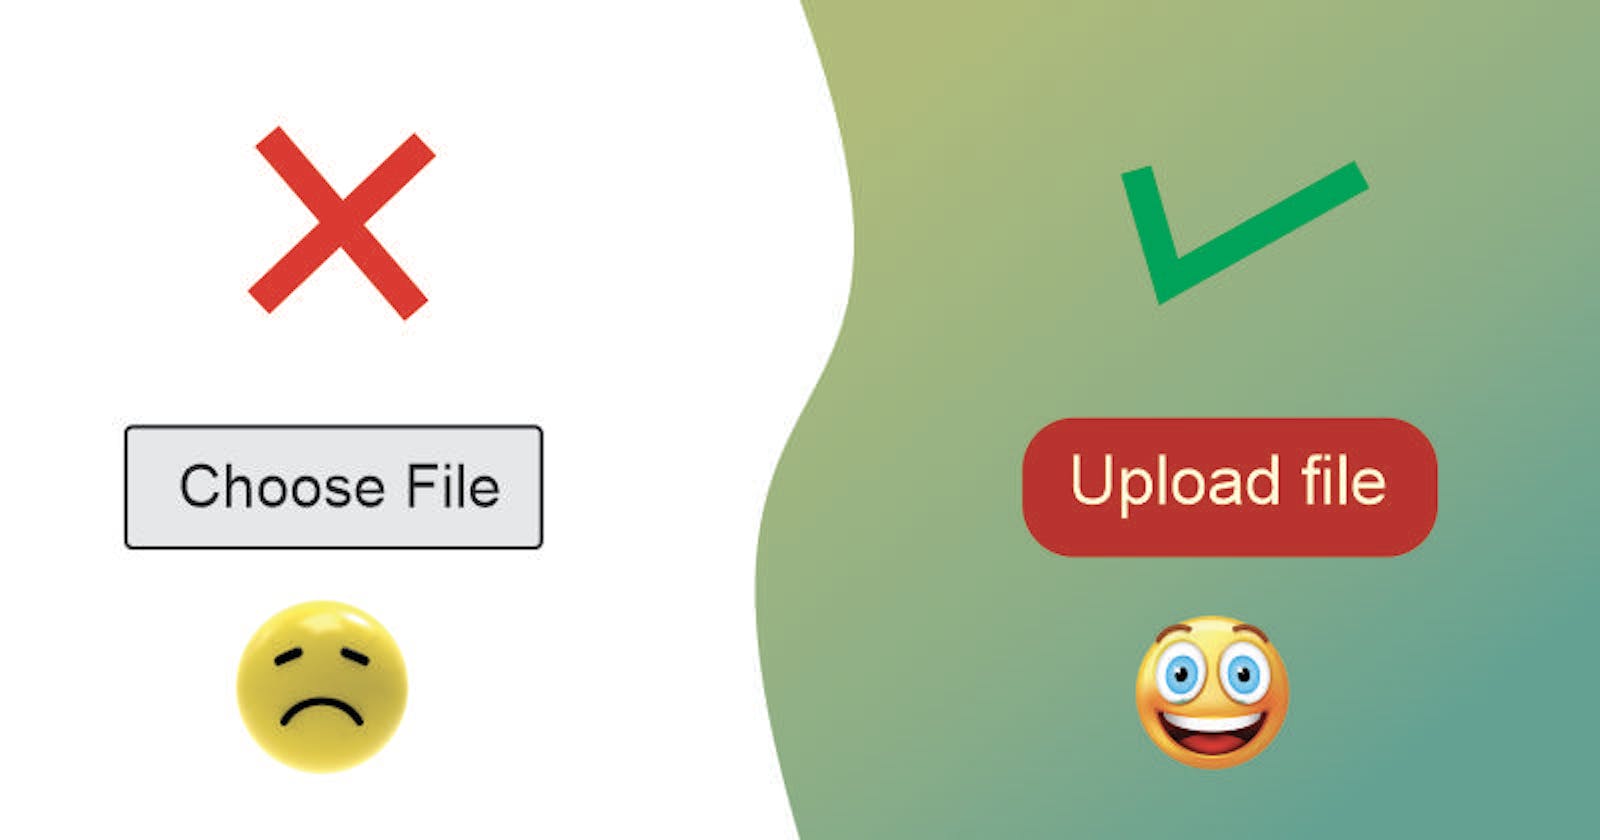
You have probably seen beautiful file input element on various websites but actually tried to style your own file input just like you style other html inputs with CSS but for some reason it just doesn't respond to the styles. So how can you make it beautiful or attractive? Well there are two tricks I usually use for this and you can also make use of them.
You can hide the admittedly ugly file input element and present your own interface for opening the file picker. You can do this by styling the input element with display:none; which will hide the ugly file input element. Then we make use of another stylable element(a button or a label) to actually trigger the file picker. The use of button will involve the use of a little JavaScript while the label only requires html and css. So without any further ado, let's get stylish😎.

📌Using a button
Consider the html below:<input type="file" id="fileElem" style="display:none">
<button id="fileSelect">Select some files</button>
We have the file input element which will be hidden by the display:none; and the button element that will trigger the file picker. It is this button that will be styled and then use JavaSript to trigger the file picker when the button is clicked.
Consider its JavaScript below:
const fileSelect = document.querySelector("#fileSelect"),
fileElem = document.querySelector("#fileElem");

fileSelect.addEventListener("click", function (e) {
  if (fileElem) {
    fileElem.click();
  }
}, false);
The above javascript code selects both the file input and the button. An event listener is added to the button such that when the button is clicked, the click event triggers the file input by also clicking the input element. Meanwhile the input element is not visible but with JavaScript we can trigger it. Then you can style the button as you wish. Consider the css code below:
button{
  border: none;
  border-radius: 5px;
  background-color: tomato;
  padding: 10px;
}
📌Using a label
As I have said earlier using a label won't require JavaScript because html can make a label to trigger an input element when it is clicked. So this approach is actually similar to the approach of the first method. Consider the html below:<input type="file" id="fileElem" class="hidden">
<label for="fileElem">Upload file</label>
Now the label is being linked to the file input by making use of the id of the input in the label's 'for' attribute. This is how the file input is triggered when the label is clicked. Consider its css below:
/* This is to hide the file input*/
.hidden{
  opacity: 0;
  position: absolute;
  z-index: -1;
}

/* This is for the label*/
label{
  border: none;
  border-radius: 5px;
  background-color: tomato;
  padding: 10px;
}
This will also produce the same output as the first method. Just style the label or button however you wish. You will notice that I didn't hide the input in this scenario by using style="display:none;" Doing it this way would still work but the label would not be keyboard-accessible. There you have it. Thanks for reading. If you love quality contents like this and would love to see more then a sub to the blog would be

Wondering how to subscribe? Just scroll up to the top of the blog. You will find the subscribe bar just below the post title. How to subscribe? Its very simple. Just enter your email address and smash the subscribe button.
